5 top tips for setting up an allotment patch from scratch
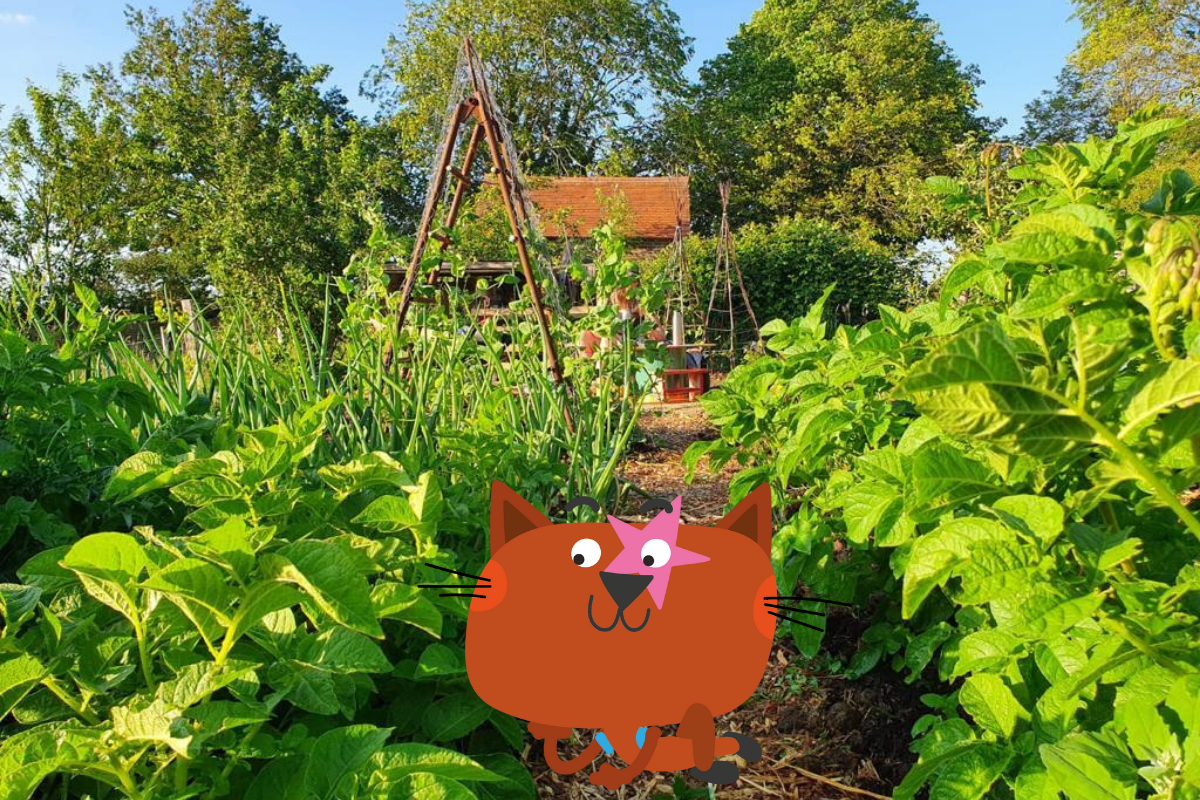
It’s National Allotment Week and so we’d like to give a shout out to all home grown vegetables; small, large, wonky and funny shaped. We salute you vegetables. Full of goodness, fun to watch grow and blossom into a delicious meal for the family. And, as we celebrate the sheer diversity and sustainability of home grown veg, we thought it was time to share our own experience of setting up an allotment for the very first time during lockdown. Both Banjo (via Zoom) and the kids thoroughly enjoyed the experience! Oh what fun we had…
So let’s dig into our 5 top tips for setting up your new allotment patch from scratch.
1.Plan your veg
If you’re new to the allotment scene like we were, it’s a good idea to start with some easy to grow veg. We started preparing our allotment during the cold and mucky winter months but it was heaps of fun and the little ones absolutely loved it. You can also start during the Summer months but you’ll need to check the best time of the year to grow each veg.
Here’s some ideas for relatively easy to grow veg:
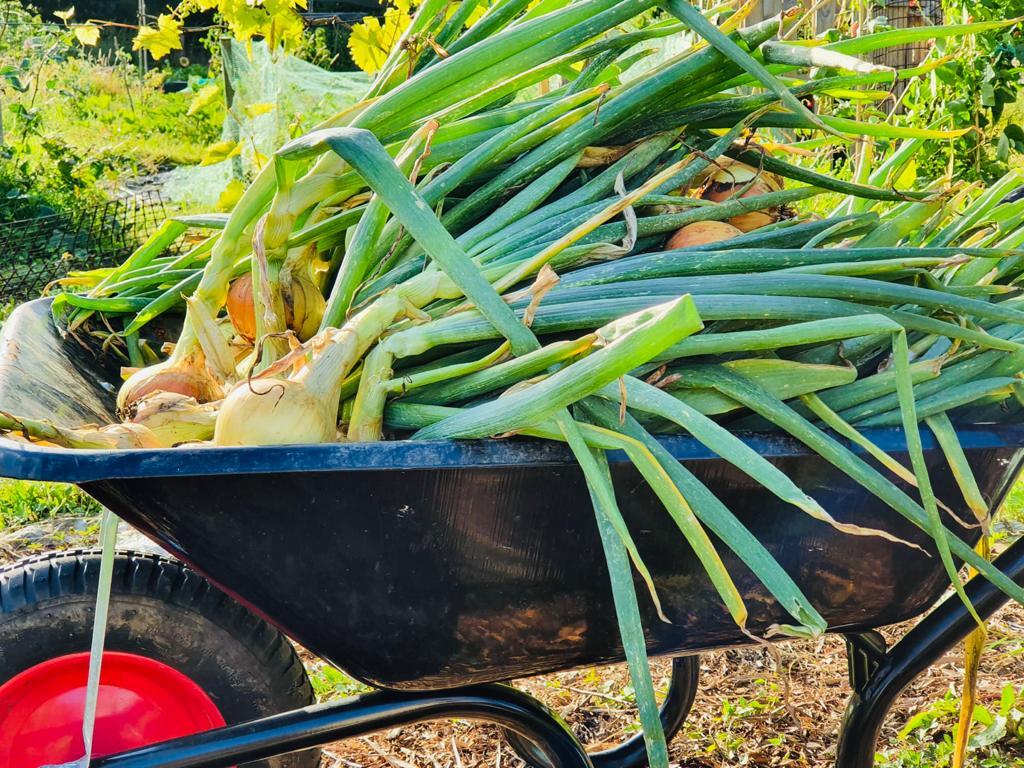
- Garlic
- Onion
- Beans (runner beans or French beans)
- Potatoes
- Carrots
- Courgettes (these also double as marrows)
- Squashes and pumpkins
- Flowers (good for the bees and they look pretty)
- Herbs such as basil, parsley and thyme
2. Get digging
Now there are two schools of thought here. To dig or not to dig. We went for the “no-dig” method. Some people say that with no-dig, you get healthier soil as the worms and other soil creatures are not disturbed by being constantly rotated. Sure, this is quite a bit of work to set up but once done a lot easier to maintain your allotment in the longer-term.
You’ll need lots of cardboard, access to compost and muck, a wheel-barrow, spade(s), rake, string (for planning paths), some old bits of paving or wood chip for building paths and sheer muscle power.
We could go into more detail here but instead we recommend you check out Charles Dowding, the absolute no-dig master.
3. Start sowing
If you don’t have a greenhouse, you can start to plant your seedlings in small pots at home. Be sure to put them somewhere sunny and give them lots of tender loving care, following the instructions on the packs carefully. You can also buy small plants that have already seeded for ease, or sow straight into the ground.
Again, Charles Dowding is a great resource for checking what to plant when. Take a look at his sowing timetable here.
4. Start growing
Yes! Are your baby plants showing healthy signs of life? It could well be time to pop them into their new home. Place them carefully into your allocated place on your allotment patch, ensuring you dig deep enough but not too deep. Water your happy, tender little plants and visit them regularly to check they are hydrated and bug free. We recommend using a reusable net to cover plants that seem to attract the bugs and advise steering clear of any pesticides.
5. Enjoy your produce
This is the most amazing time of your allotment adventure! Once the sun starts to shine you’ll be presented with an explosion of produce. Banjo suggests you use some of your home grown veg in his recipe cards sent to your little ones. He also sends a tip: watch those courgettes. They soon grow into huge marrows! Yuck…
We know that starting your own allotment from scratch can be a little overwhelming at first and we hope you’ll find these top tips the cat’s whiskers like we do at Banjo HQ. If you’re looking for more options to enjoy your garden or allotment with your kids, check out Best Garden Activities for Children Blog for loads more great outdoor fun.
Enjoy PAWfecting your veg, Banjo HQ x